
Stitching By Hand
When life changed for all of us and we secluded to indoor activities, I became slightly fixated on a very relaxing hobby I hadn’t done in years, stitching by hand. In the evenings I would pick it up while watching a movie or take it with me any time I thought there might be a bit of down time to work on a piece. What began with a stitched portrait of a Henri Matisse ink drawing, quickly lead down a path of reinterpreting works by other famous artists. There were no self imposed expectations or goals of perfection, only quiet mindful stitching by hand. I thought I’d share how my simple approach to handwork ended up being the best stress reliever and how you can create your own little works of art.
BENEFITS & EXPECTATIONS
Psychologists say that stitching by hand helps to create a state of focus. There are many studies that show it helps to promote relaxation, relieve anxiety, and in some cases reduce blood pressure. And who hasn’t needed those benefits lately? I found it gave me an overall sense of calmness. Just quietly sitting still, repeating stitches over and over, allowed me to contemplate some of my concerns and worries and let them wash away.
When I first decided to pick up stitching again, the only “rule” I allowed myself was to let go of the outcome. To create just for the sake of creating. This carefree mindset relieved me of any expectations for my work. It was completely freeing!
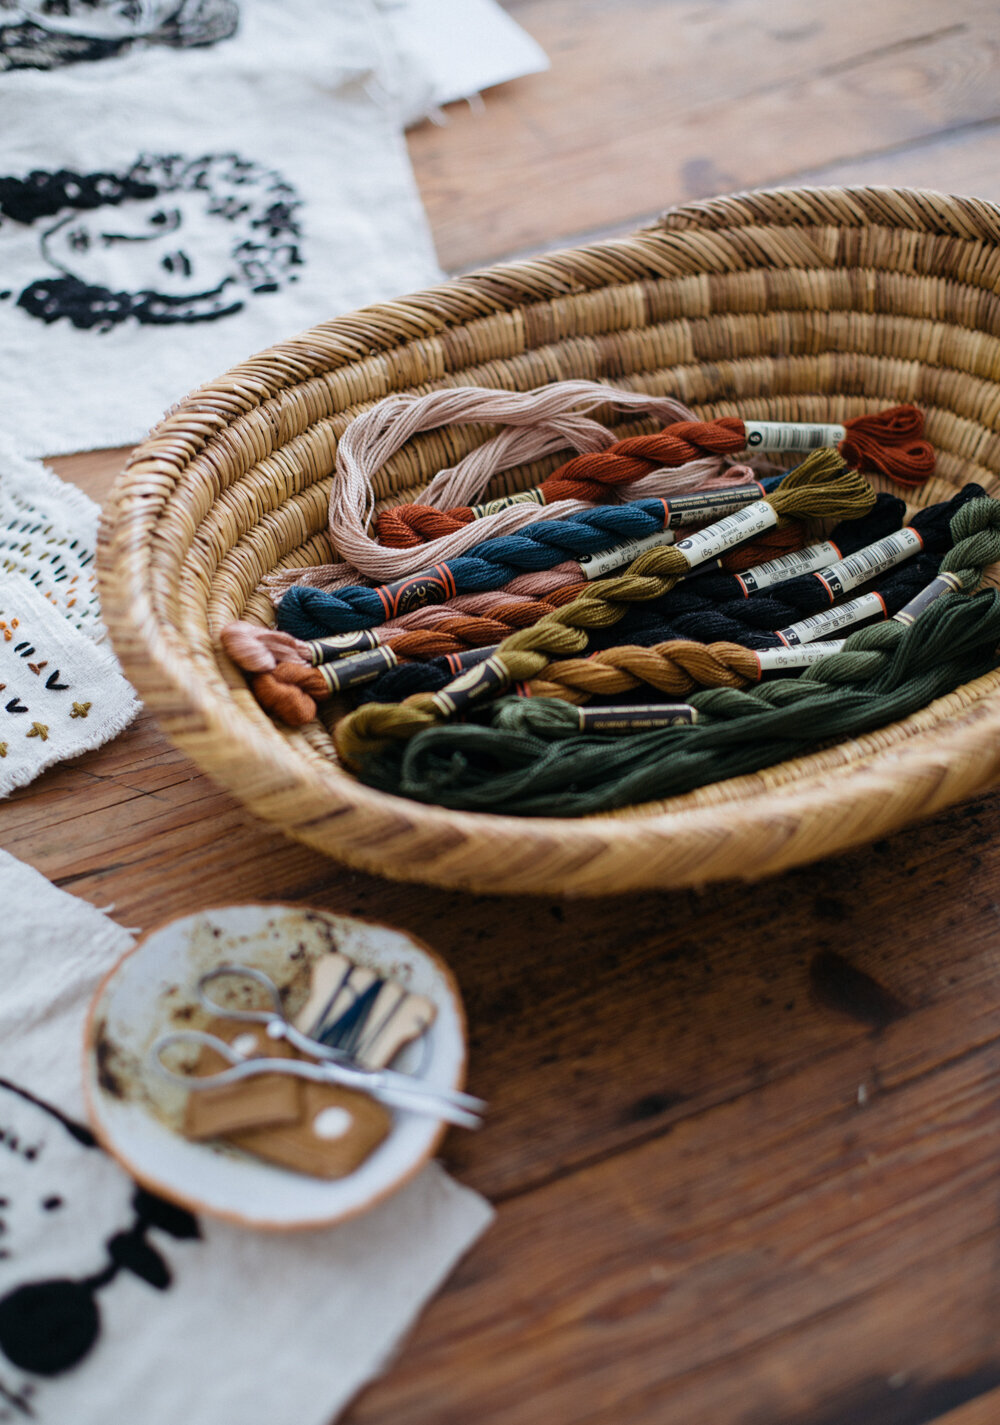
MINIMAL SUPPLIES
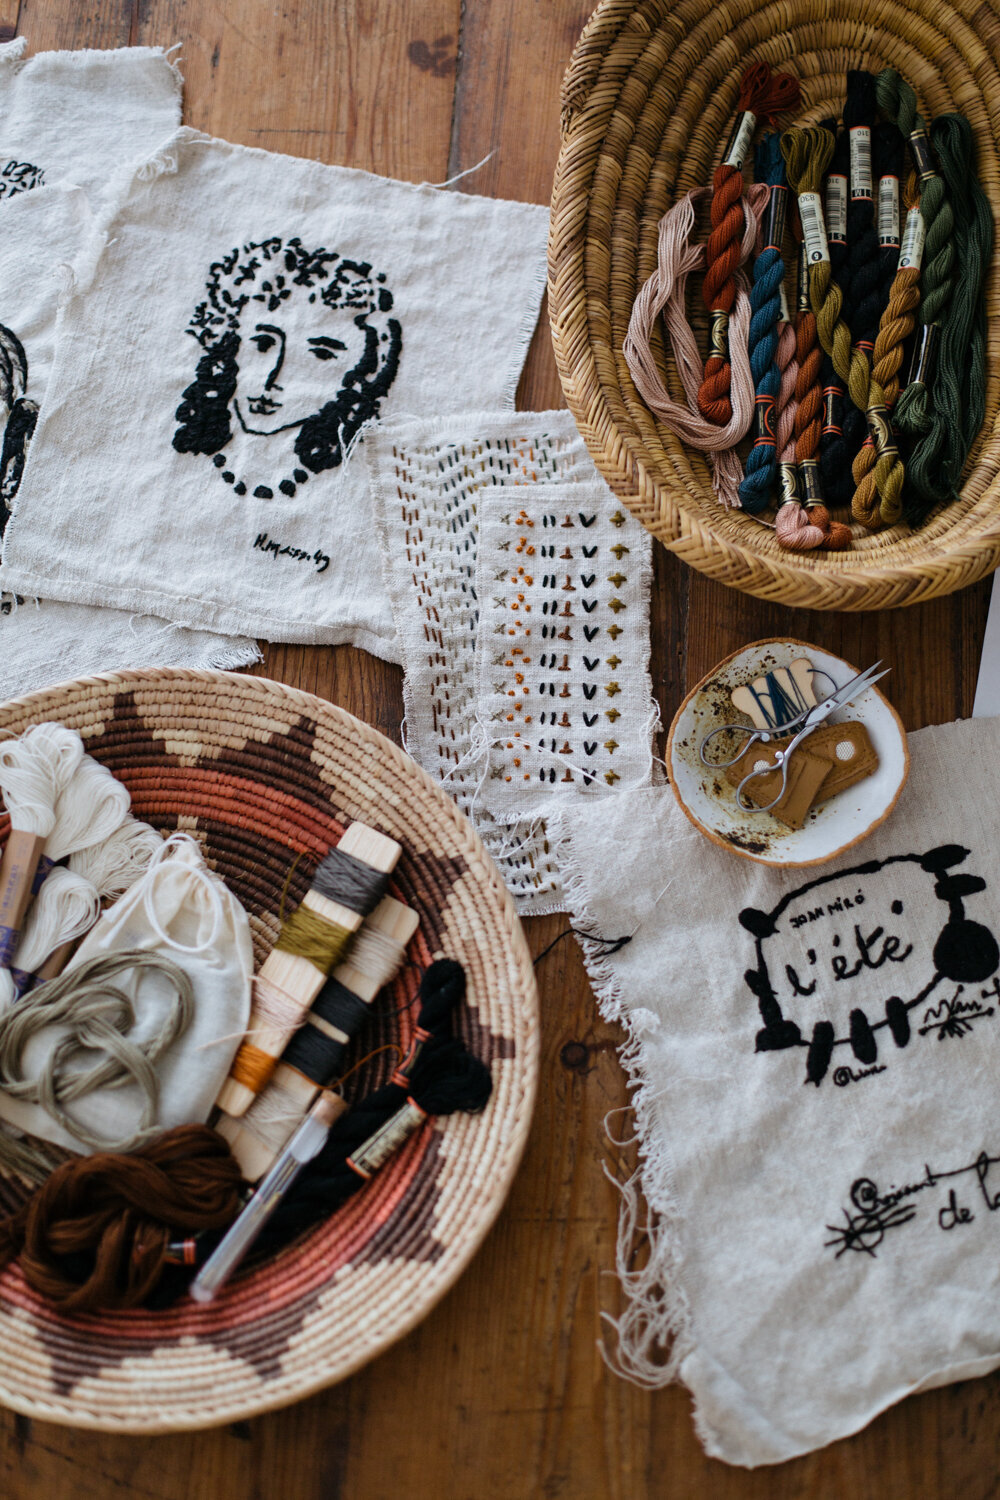
This is the beauty of hand stitching, there are essentially only 4 things you need: fabric, thread, a needle, and scissors.
Embroidery Thread - I only use Pearl Cotton Size 5. The thinner floss is a bit frustrating to work with. Occasionally I will use Sashiko thread since I always have it on hand for mending jeans and I like the creamy white color.
Fabric - My preference is antique hemp linen. I love the feel of it in my hand and it’s very easy to stitch. But you can certainly use any fabric!
Needles - Make sure the needles are the correct size for the thread you’re using. Needle openings that are too small will make threading them difficult. I like these and these.
Scissors - A small pair of embroidery scissors are easy to tuck away and are generally allowed on airplanes. There are so many cute styles to choose like the Putford and Little Gems.
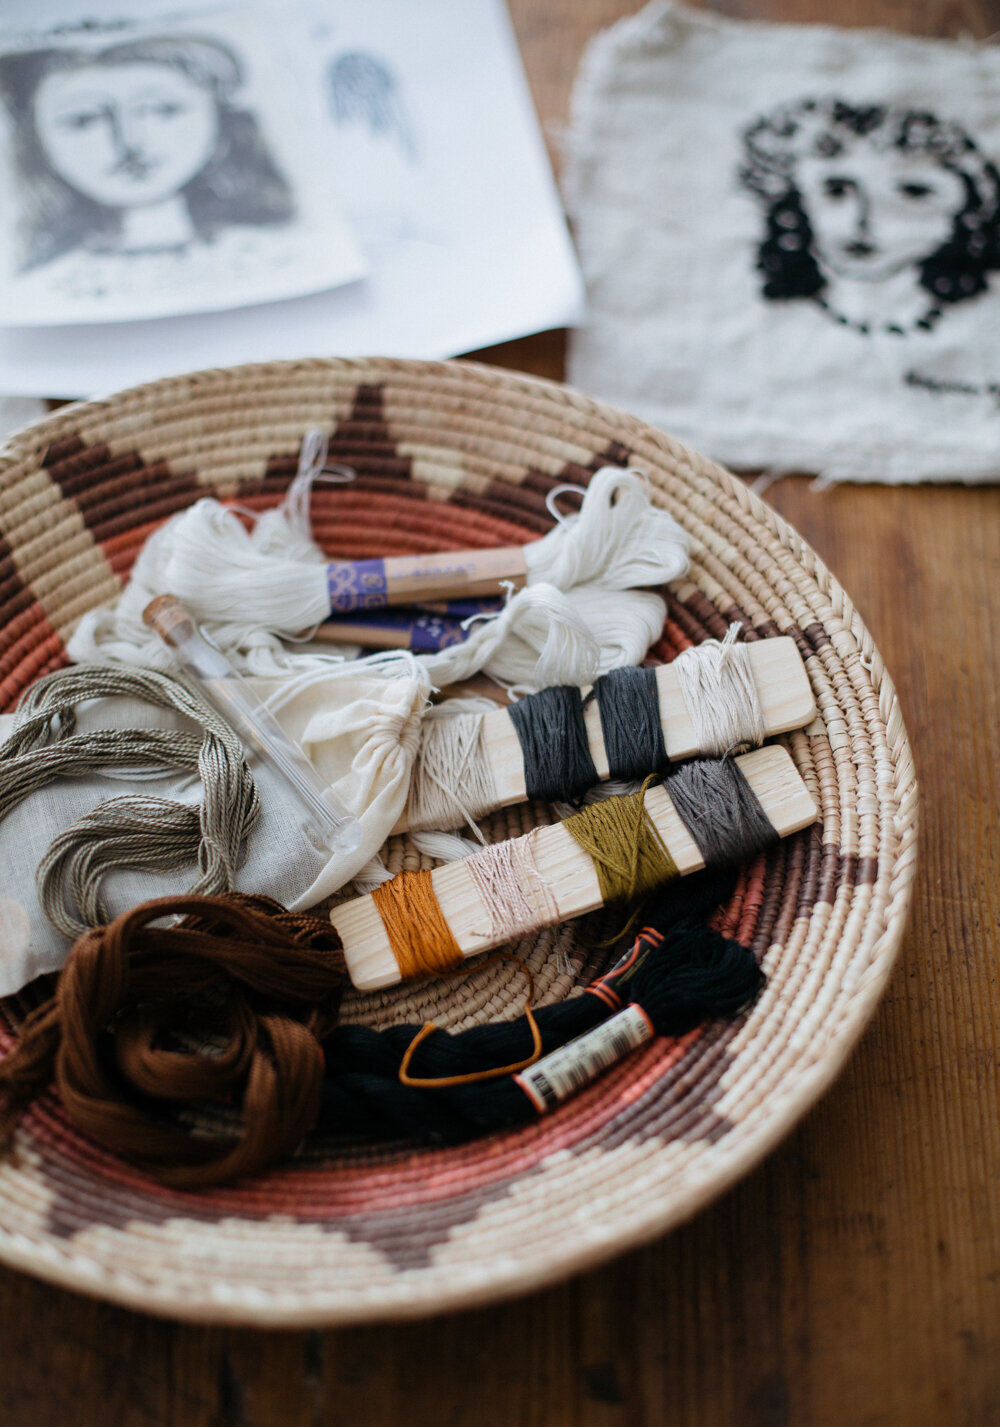
STAYING ORGANIZED
Again, I keep this very simple. Everything I need is gathered in two shallow baskets. I prefer this method over keeping everything in a zippered bag or pouch. One is used to store extra thread and the other is my working basket. It allows me to easily see all my supplies and the basket can rest beside me when I’m working on a piece. I bring it along while traveling and find it works quite well. Do whatever suits your needs best! Similar vintage coil baskets.
WHAT TO STITCH
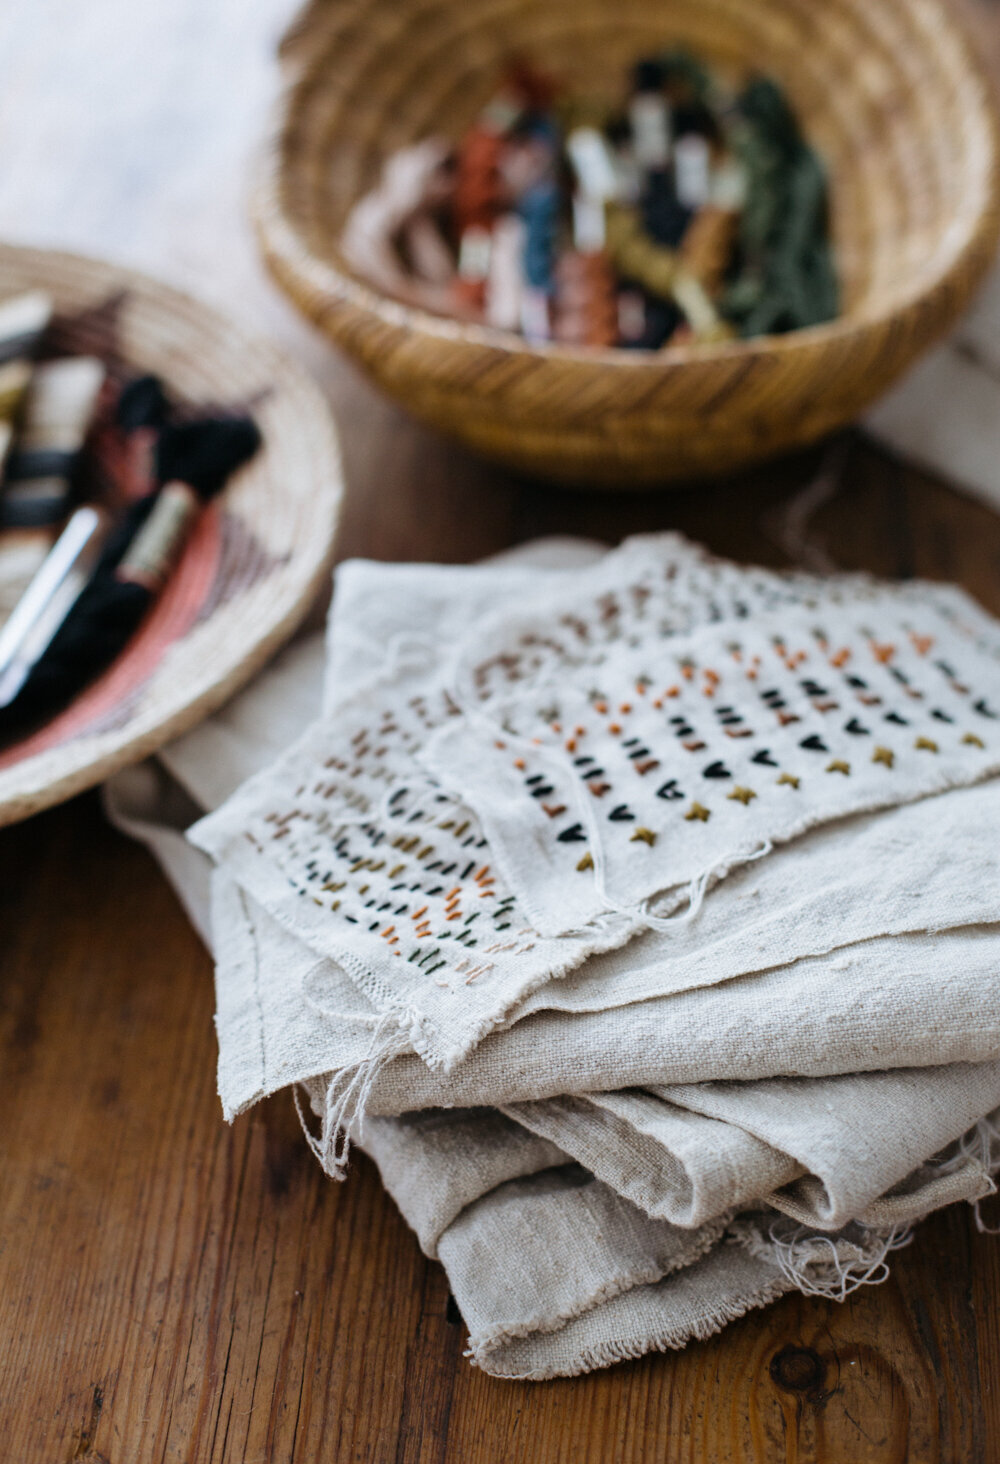
You can actually start by just stitching rows of colored thread or shapes and patterns onto scrap linen. When I’m in between projects I’ll often turn to this approach. I find that it clears the mind just as well as creating something specific.
Some ideas for when you’re searching for inspiration:
Things you find beautiful in nature - leaves, trees, mountains, cacti, birds, sunsets, rivers, the sky is the limit!
Architecture - historic buildings, cityscapes, famous landmarks, your own home, the Eiffel tower or Statue of Liberty.
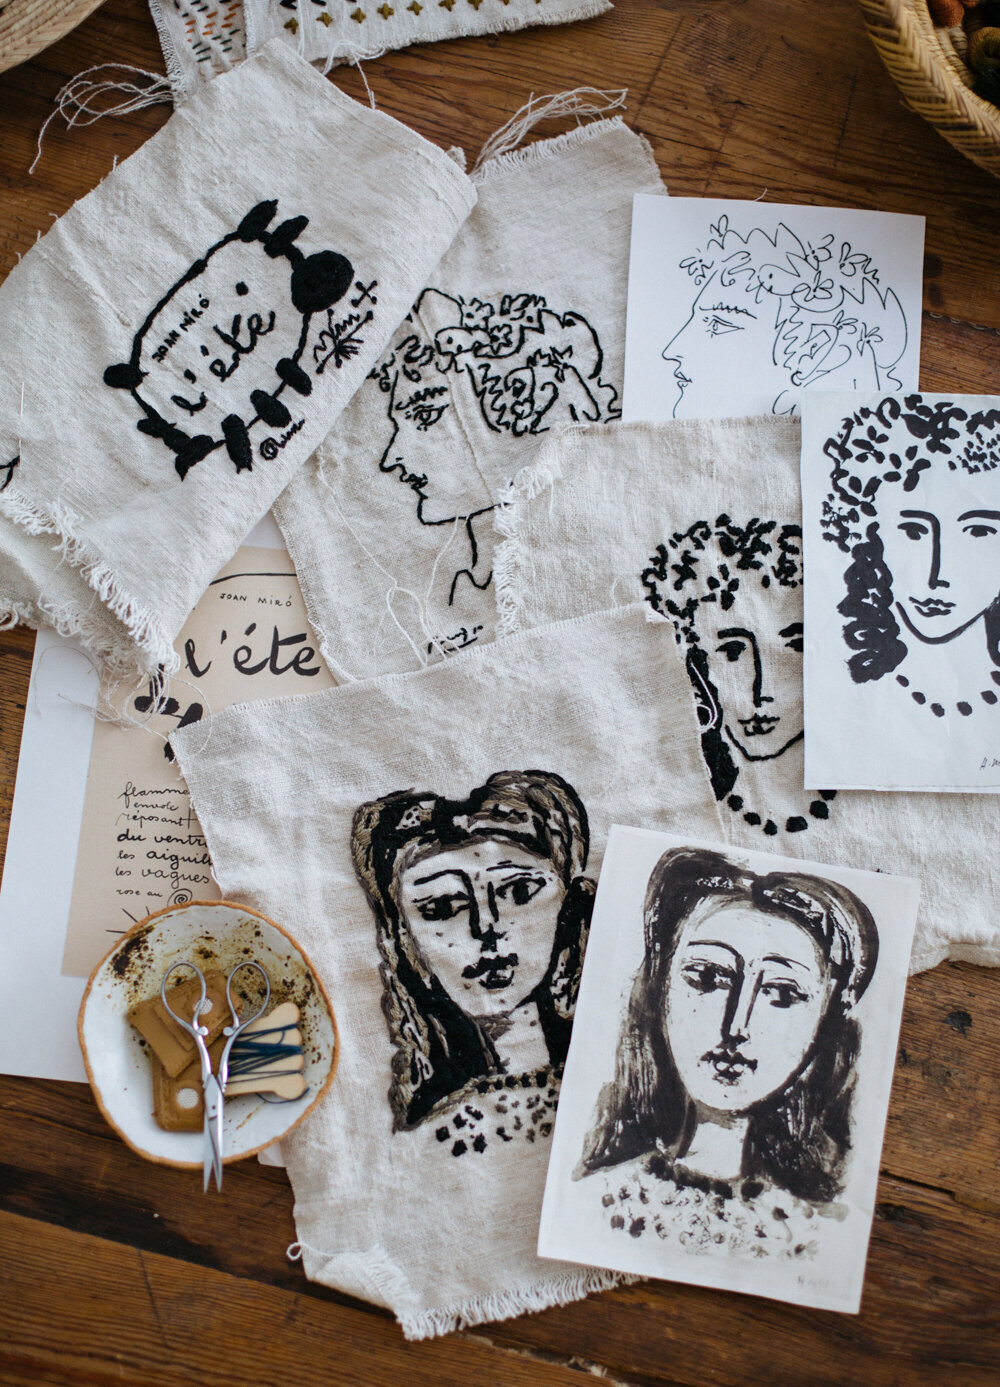
Photographs, paintings, portraits, graphics, drawings, any form of art that strikes you! Last year I saw some of my friend Jeanne Oliver’s stitched faces that inspired me to try creating a few.
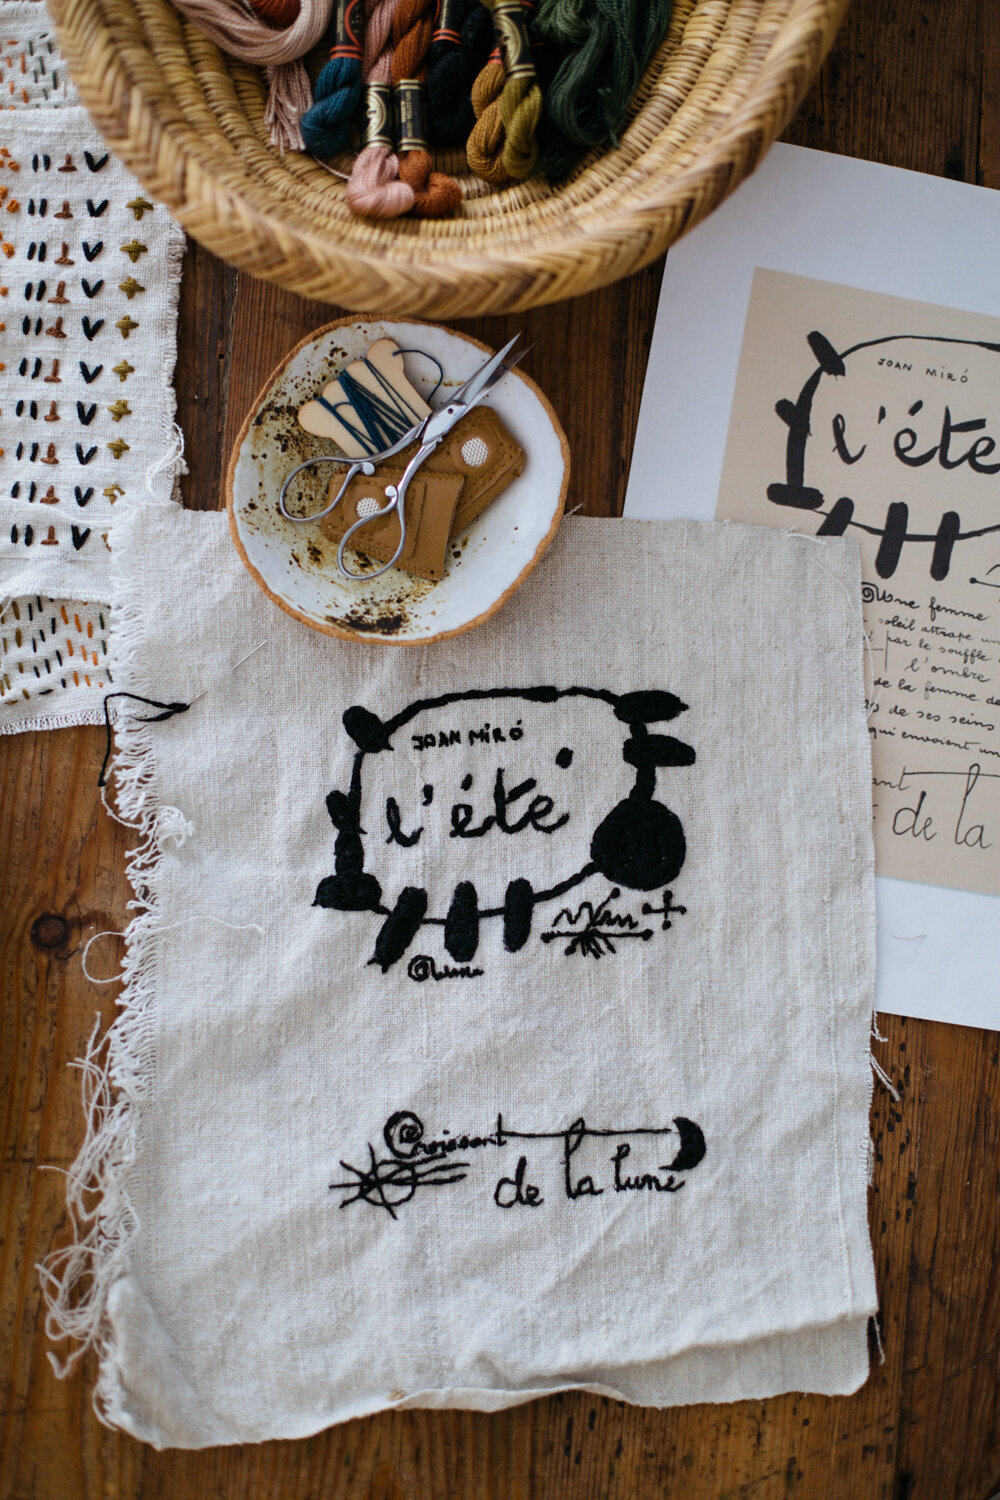
MY PROCESS
I haven’t bought or used any specific embroidery patterns, but you certainly can. There are loads of them available on the internet. I prefer to either stitch free form or use imagery, artwork, or graphics that I find inspiring. Below are a few of my projects, there are several by Picasso, a drawing by Matisse, and one that I’m currently working on, a beautiful poem by Spanish artist Joan Miró entitled L'été - (Summer; translation here).

When I’m stitching artwork I will print it onto heavy card stock. Next I cut a scrap of linen the size of the page (usually 8x10) and attach it on top of the print with paper clips. I’ll find a brightly lit window and tape it right onto the glass to serve as a backlight. I then do a light outline sketch of the artwork, remove it from the window, and fill in the rest by hand.
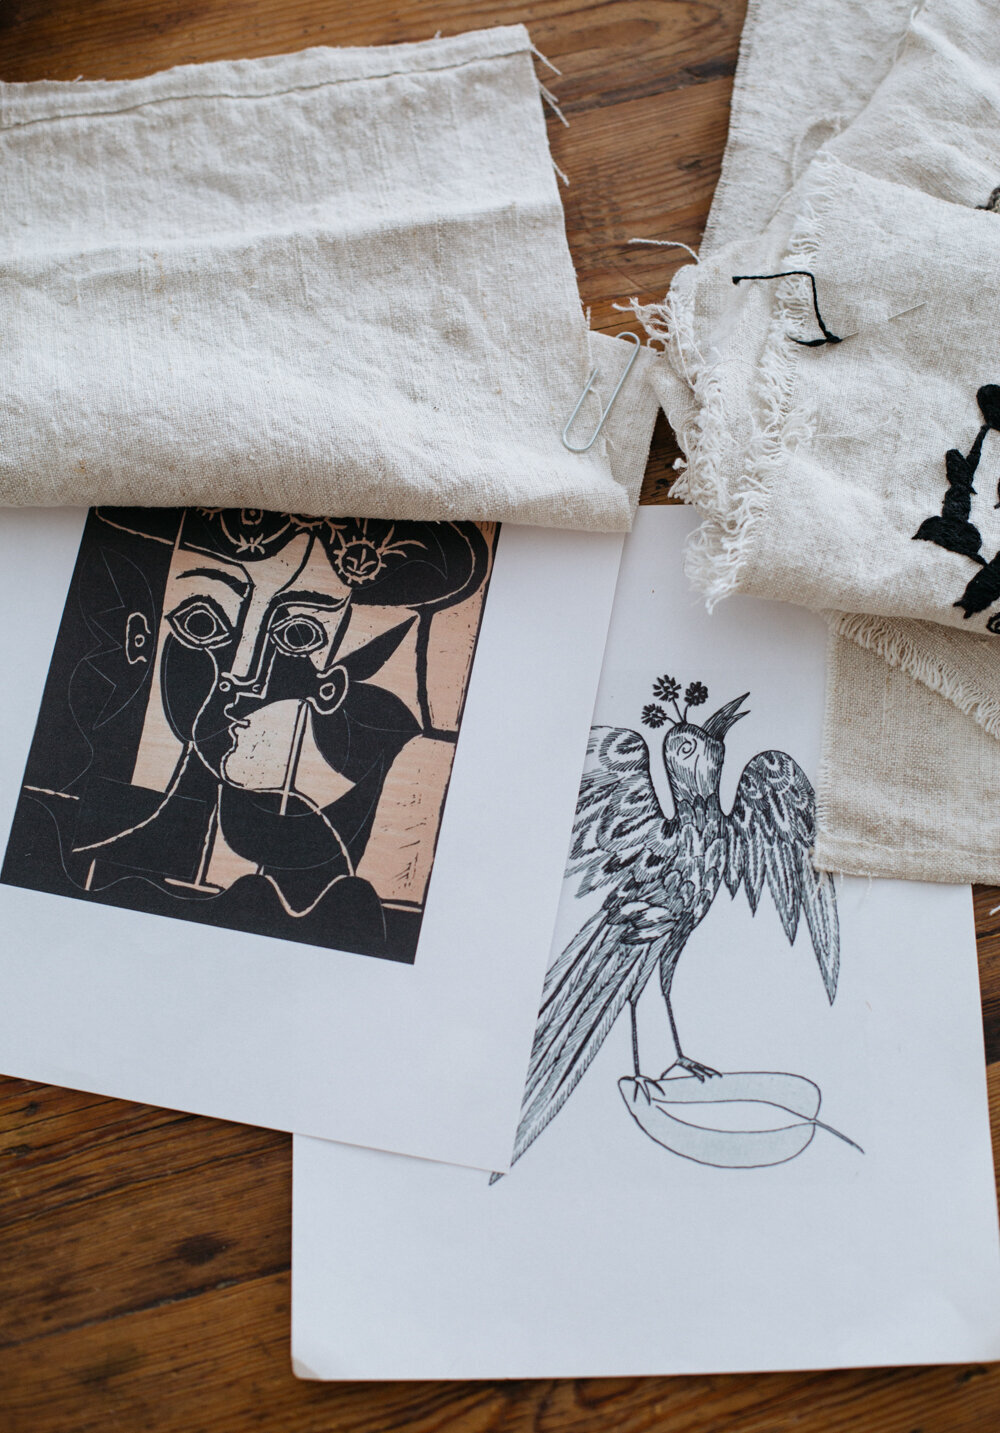
In the image below you can see my next piece, a linocut by Picasso entitled Rande Tete de Jacqueline, 1962 and my light hand sketch of the artwork. I keep the printed artwork with me while I’m working on a project as a guide. But again, I’m not worried about getting things perfect or creating an exact copy. It would be impossible to do with fabric and thread!

So there you have it! I try to keep this as simple and easy as possible to encourage me to pick it up more. I don’t even use a hoop or thimble and all the supplies I own are shown in these photographs. I love that this creative outlet doesn’t end with a big mess to clean up, is easily transportable, and can be done almost anywhere!
ARTWORK LINKS
Pablo Picasso - Portrait of Françoise Gilot, 1946 - Rande Tete de Jacequeline, linocut, 1962 - Woman in profile, 1952
Henri Matisse - Large head, ink on paper, 1949
Joan Miró - L'été, drawing-poem, India ink on paper, 1937
The Project Gutenberg - Jacobean Embroidery, bird plate number 24, late 17th century